
Six Minute Caramels – Soft, Chewy, Foolproof Microwave Treat
If you’ve ever been intimidated by candy thermometers and boiling sugar, these six minute caramels are about to change your life. In today’s fast-paced world, recipes that are both quick and delicious are rare gems. This one’s a treasure — soft, chewy, microwave caramels made in under 10 minutes from start to finish. With the magic of a few pantry staples and a microwave, you can whip up a batch of rich, buttery treats that taste like grandma made them from scratch. In this article, I’ll guide you step-by-step through making this foolproof sweet, and we’ll uncover why microwave caramels deserve a place in every kitchen.
A Sweet Memory Behind These Foolproof Microwave Caramels
The kitchen moment that inspired it all
Growing up, the holiday season was pure magic in our home. The air would fill with scents of cinnamon, vanilla, and bubbling sugar. But I’ll never forget the year my mom introduced me to homemade caramels. She’d usually spend hours at the stove, patiently stirring while we watched the mixture hit that perfect golden hue. One December, rushing to finish her treat boxes, she discovered a microwave caramel recipe tucked in the back of her old church cookbook. We tried it together — skeptical but curious. Six minutes later, we were amazed. The taste? Spot-on. But what truly made it special was how something so effortless still held the warmth of tradition.
These days, I love making these foolproof microwave caramels with my own kids. They’re the same soft, chewy treats I grew up with — just faster. Whether you’re making them for gifts or sneaking bites while they cool, these caramels always bring smiles. And if you’ve never made candy before, this recipe will surprise you in the best way.
Why “microwave” doesn’t mean compromise
Let’s face it: the microwave gets a bad rap. But when it comes to making quick caramels, it’s actually a genius method. Traditional caramels require a candy thermometer and careful attention to temperature. Microwave caramels skip the stress. The even heat and short cook time mean you can get buttery, soft results with zero guesswork.
And don’t worry — they’re not rubbery or dry. These caramels melt in your mouth with every bite. The microwave not only simplifies the process, but it delivers consistent results every time. Pair that with a few kitchen tricks (which I’ll share in Part 2), and you’ve got a six-minute winner that rivals any stovetop version.
Many of our readers also enjoy nostalgic treats like homemade fudge or no-bake peanut butter bars, and this microwave caramel recipe fits right into that easy-yet-delicious family.
How to Make Foolproof Six Minute Caramels in the Microwave
Ingredients that keep it soft and chewy
Making soft caramels in the microwave is all about balance. The right combination of ingredients ensures you end up with smooth, chewy bites instead of gritty or brittle candy. For this recipe, you only need six ingredients — most of which you probably already have:
- Unsalted butter (real butter, not margarine)
- Light corn syrup
- Brown sugar
- Granulated sugar
- Sweetened condensed milk
- Vanilla extract
The butter adds richness, while corn syrup prevents crystallization (that grainy texture you don’t want). Brown sugar gives the caramels depth and color, while white sugar balances sweetness. Sweetened condensed milk creates that creamy chew, and vanilla finishes it off with warmth.
For best results, use a microwave-safe glass bowl and a good silicone spatula for stirring. Trust me, having the right tools makes the process even easier — and less cleanup is always a win.
Step-by-step: Foolproof caramel in minutes
Here’s how it all comes together. First, melt your butter in the microwave. Then, stir in all the sugars, corn syrup, and sweetened condensed milk. Microwave the mixture in intervals — usually 6 minutes total, stopping every 2 minutes to stir thoroughly. You’re looking for a rich, golden color and smooth texture.
The exact cook time can vary based on your microwave’s wattage, so consider doing a quick “soft ball test” after the final minute: drop a bit into cold water and see if it forms a soft, pliable ball. That’s your cue that the caramels are ready.
Once done, stir in the vanilla and immediately pour the mixture into a greased or parchment-lined baking dish. Cool at room temperature before cutting into squares. Wrap them in wax paper for that classic touch.
And if you’re planning ahead, these caramels freeze beautifully. Store them in a zip-top bag, and they’ll stay soft and chewy for weeks — perfect for last-minute guests or gift boxes.


Ingredients
Method
- Lightly grease or line an 8×8 inch pan with parchment.
- In a large microwave-safe bowl, combine butter, corn syrup, brown sugar, white sugar, and sweetened condensed milk.
- Microwave on HIGH for 6 minutes total, stirring every 2 minutes. Mixture should bubble and darken.
- Carefully stir in vanilla.
- Pour into prepared pan. Cool at room temperature or refrigerate until set.
- Cut into squares and wrap individually or store in an airtight container. Optional: sprinkle with sea salt.
Tips for Perfect Microwave Caramels Every Time
Timing is everything — here’s how to nail it
One of the most common questions I get about this recipe is, “Will my microwave be the same as yours?” The short answer is — probably not. But don’t worry. This recipe is forgiving, and I’ll walk you through how to adapt the timing so your six minute caramels turn out soft and chewy every time.
Start by knowing your microwave’s wattage. Most home microwaves range between 900–1200 watts. If yours is on the lower end, you may need to cook the mixture for 7–8 minutes total, not six. Always microwave in 2-minute intervals, stirring well each time. It’s better to undercook and add another 30 seconds than to overcook and end up with hard candy.
To test doneness, use the cold water method: drop a tiny spoonful of caramel into ice water after the final minute. If it forms a soft, flexible ball between your fingers, you’re good to go. Still too runny? Give it another 30 seconds.
A few extra minutes of patience here pay off big. You’ll end up with caramels that rival even the most carefully cooked stovetop version. And once you get the feel for it, you’ll never look back.
Storage, gifting, and freezing like a pro
Once your caramels are set and cut, it’s time to enjoy them — or share the joy. Each chewy piece should be wrapped individually in wax paper. Not only does this keep them from sticking together, but it also gives them that classic homemade candy shop vibe.
These store well at room temperature for up to two weeks in an airtight container. For longer storage, pop them in the freezer. When you’re ready to serve or gift, let them come to room temperature — they’ll taste just as soft and fresh as the day you made them.
Customizing Your Six Minute Caramels
Flavor variations to try at home
Once you’ve mastered the base recipe, it’s time to have some fun with flavor. These microwave caramels are incredibly versatile. A simple twist can make them feel brand new — perfect for tailoring treats to the season or your personal cravings.
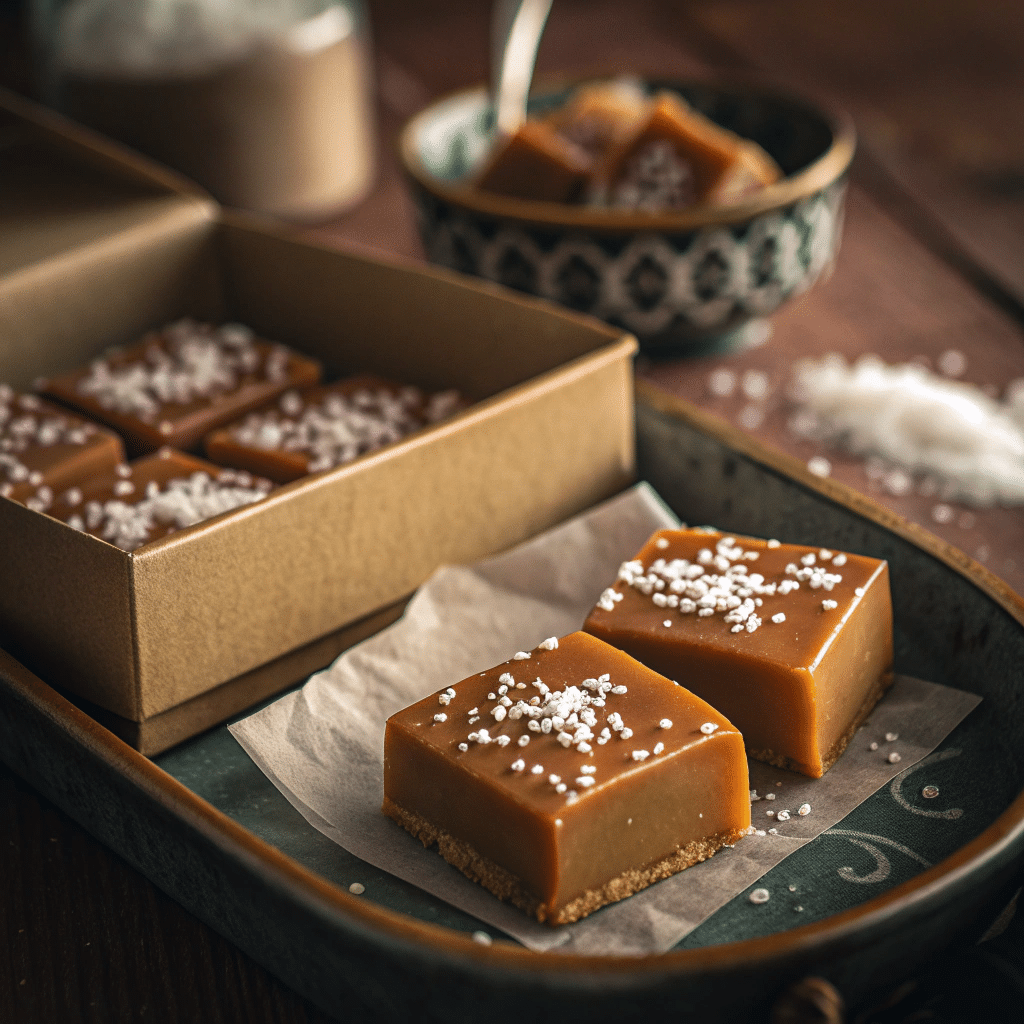
Try adding flaky sea salt on top right after pouring the caramel into the pan. The salt balances the sweetness and gives that irresistible salty-sweet combo. For a wintery touch, stir in a pinch of cinnamon or nutmeg before the final microwave round.
Want to take it up a notch? Add a tablespoon of espresso powder or a few drops of almond extract with the vanilla. These subtle upgrades transform your caramels into something gourmet — no candy thermometer needed.
And for those who love chocolate, try drizzling melted chocolate over cooled caramels or dipping each piece halfway. It’s an easy way to create chocolate-covered caramels that rival anything you’d buy from a boutique.
Need more ideas for flavor pairings? Try our bourbon vanilla truffles for inspiration.
Add-ins and texture upgrades
You can also mix in textures to create a truly one-of-a-kind treat. After removing the caramel from the microwave and stirring in vanilla, try folding in chopped pecans, roasted almonds, or even toasted coconut. These mix-ins add crunch and elevate the candy from simple to show-stopping.
For holiday versions, try crushed peppermint candies or swirl in a touch of molasses for gingerbread vibes. Even sprinkling crushed pretzels over the top gives your caramels a delightful salty crunch.
The key is to move quickly. Once the vanilla is stirred in, the caramel starts to cool fast. Whatever you add — do it right away, pour, and spread evenly.
Every time you tweak the recipe, jot down what worked. Before long, you’ll have your own custom version that your family requests year after year.
Frequently Asked Questions About Six Minute Caramels
Can I make caramels in the microwave without a candy thermometer?
Yes, that’s the beauty of this recipe! Microwave caramels eliminate the need for a candy thermometer. Use the “cold water test” by dropping a small amount of the mixture into ice water—if it forms a soft ball, it’s ready.
Why are my microwave caramels too hard or too soft?
This usually comes down to microwave wattage and cook time. If they’re too soft, add 30-second increments. If too hard, reduce your cook time slightly next time. Stir thoroughly every 2 minutes for even cooking.
How should I store homemade microwave caramels?
Once cooled and cut, wrap each caramel in wax paper and store in an airtight container at room temperature for up to two weeks. You can also refrigerate or freeze them for longer shelf life.
Can you freeze six minute caramels for later?
Absolutely. Wrap them individually and place in a freezer bag or airtight container. Thaw at room temperature before serving—they’ll be just as soft and chewy as the day you made them.
Conclusion: The Sweetest Shortcut You’ll Ever Try
There’s something incredibly satisfying about mastering a homemade candy — especially when it only takes six minutes and no fancy tools. These Six Minute Caramels bring old-fashioned flavor into your modern kitchen without stress or guesswork. They’re rich, buttery, and endlessly adaptable.
Whether you keep them simple or add your own twist, this recipe is one to keep in your back pocket for holidays, birthdays, or those spontaneous sweet cravings. From my family’s kitchen to yours — happy caramel-making!


