
Salted Butter Caramels – Rich, Chewy & Homemade Perfection
Salted butter caramels bring together two flavors that were simply made for each other: deep, buttery sweetness and a touch of sea salt. This homemade version is rich, silky, and delightfully chewy — the kind of treat that makes you close your eyes with every bite. Unlike store-bought candies, these caramels melt in your mouth and leave behind a lingering warmth that’s pure comfort. In this article, we’ll explore how to make salted butter caramels at home with ease, what makes them different from traditional ones, and how a pinch of flaky salt transforms an everyday candy into something unforgettable.
A Story of Salt and Sweetness
The flavor that takes me home
Some flavors pull you back in time — for me, it’s caramel. I remember the first time my grandmother sprinkled sea salt over a batch of still-warm caramels. She said, “Try it — the salt makes the sweet even better.” And she was right. The way that buttery, sugary softness played off the crunch of the salt changed how I thought about candy forever.
Years later, when I started making caramels with my own kids, I added that same sprinkle of flaky sea salt. Their eyes lit up like mine had. It’s a small touch, but it turns a simple treat into something that feels handcrafted, luxurious, and full of memory.
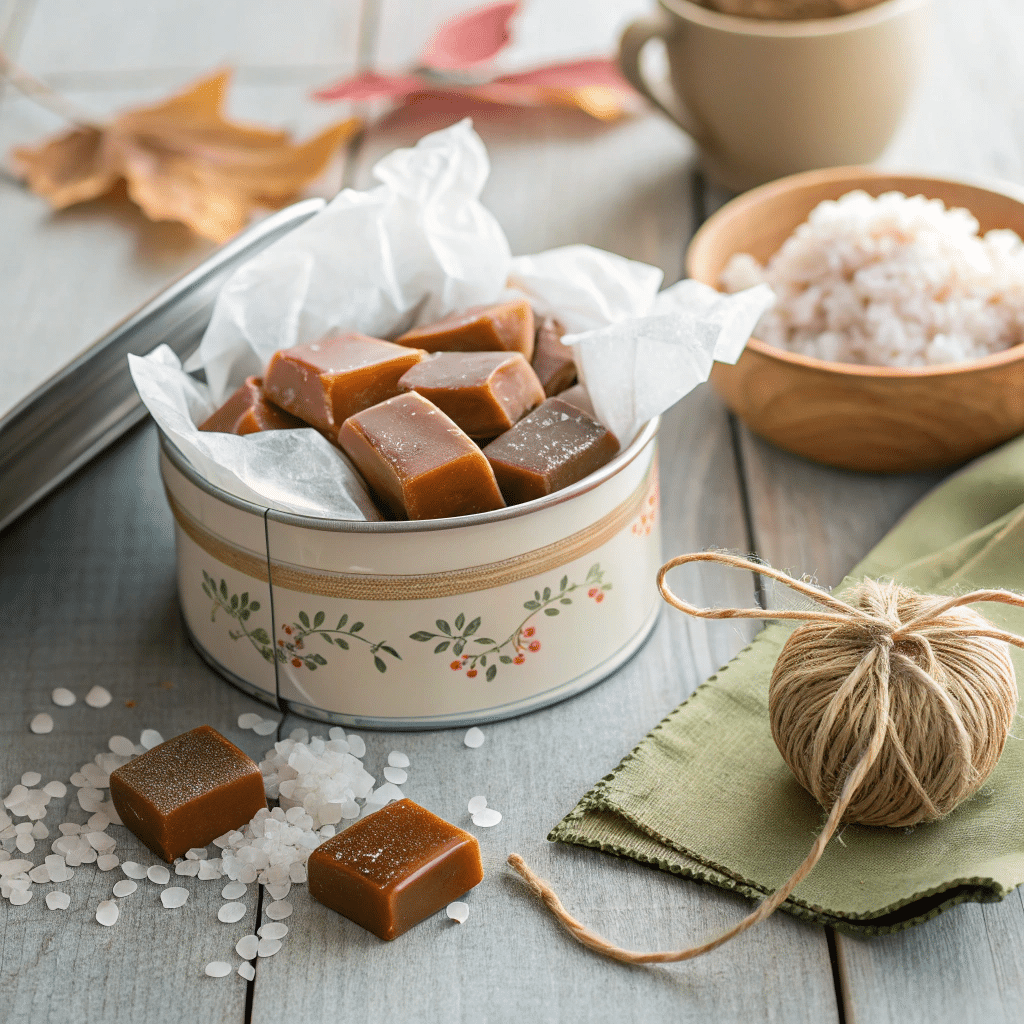
These salted butter caramels became a holiday tradition in our home, tucked into tins for teachers or wrapped in wax paper for gift baskets. But truthfully? We make them all year round — because nothing this good should wait for December.
What makes salted butter caramels special
The difference starts with the butter — and yes, it matters that it’s salted. Salted butter adds depth and balance to the sugar’s sweetness, making the flavor rounder and more satisfying. While most caramel recipes rely on unsalted butter with added salt later, using high-quality salted butter infuses every bite with flavor from the start.
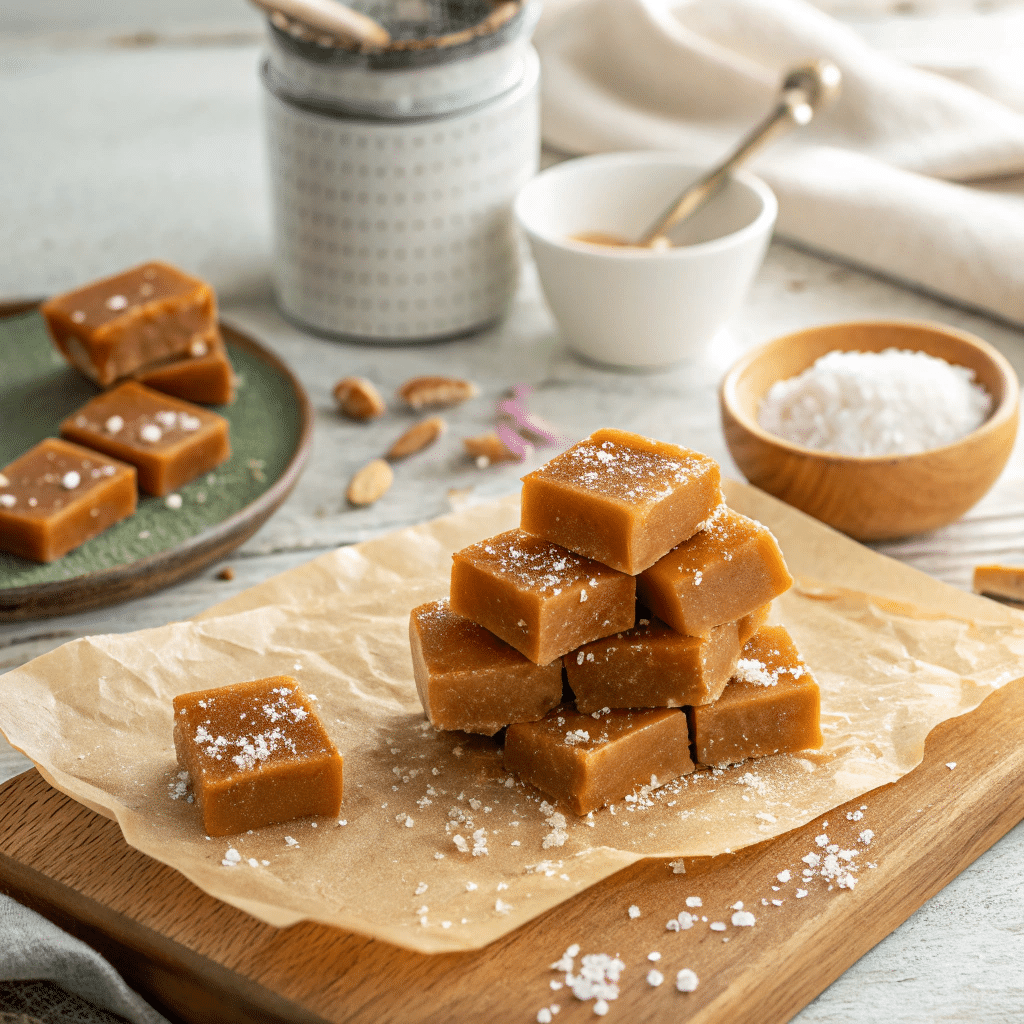
The second game-changer? Flaky sea salt sprinkled right after pouring the caramel into the pan. This creates pockets of texture and bursts of salty goodness that take each bite from delicious to dangerously addictive.
These caramels also have a smoother, creamier texture than many store-bought versions. No gritty sugar, no hard edges — just that perfect stretch between your teeth before it melts away.
Making Salted Butter Caramels at Home
Ingredients that make all the difference
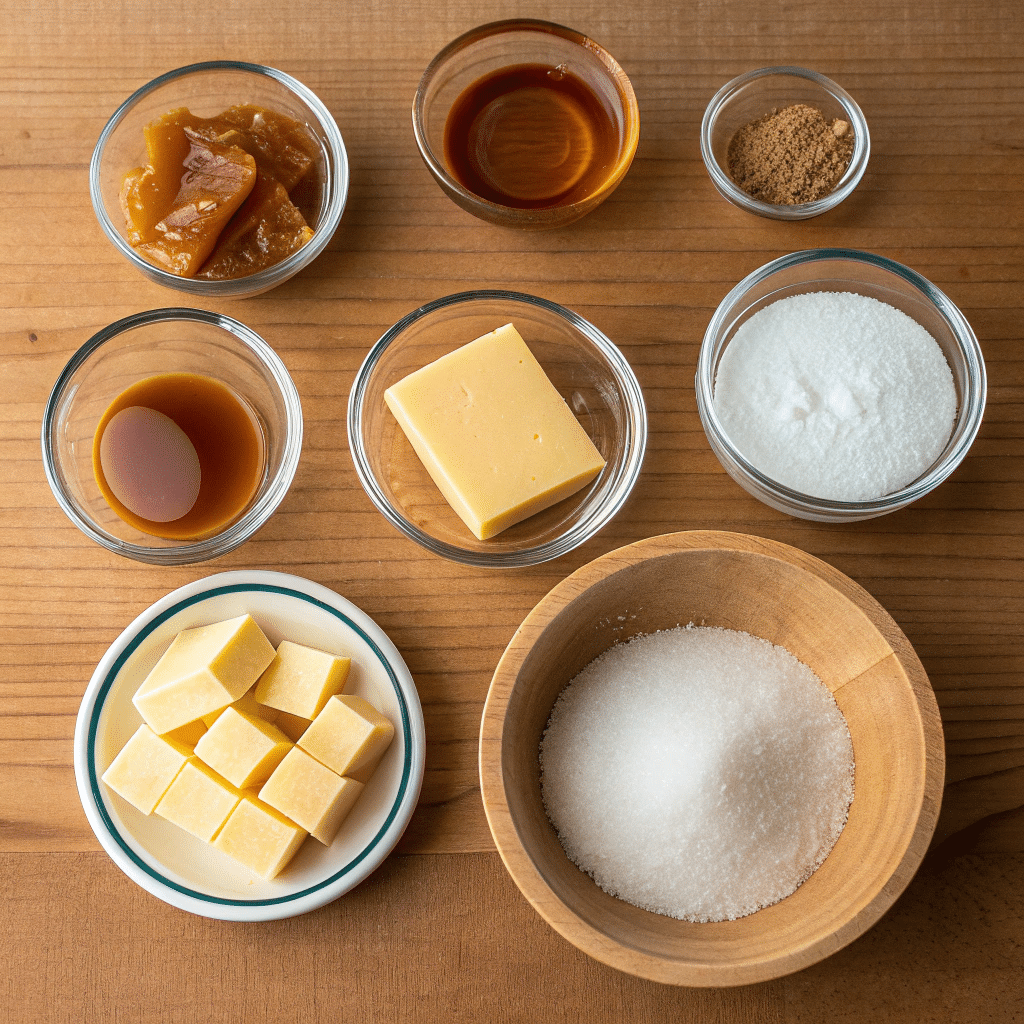
Salted butter caramels may sound fancy, but the ingredient list is beautifully simple. Each component plays a role in creating that soft, chewy bite with a rich, slightly salty finish. Here’s what you’ll need:
- Salted butter (use European-style for deeper flavor if possible)
- Granulated sugar
- Brown sugar
- Light corn syrup
- Heavy cream
- Flaky sea salt (Maldon or fleur de sel recommended)
- Vanilla extract
The combination of both white and brown sugar gives the caramels complexity — with the brown sugar adding molasses notes that complement the salt. Light corn syrup ensures your caramel stays smooth and doesn’t crystallize. And that heavy cream? It’s what makes these caramels so luxuriously rich and soft.
I like to prepare everything in advance and line my pan with parchment paper so I can move quickly once the caramel is ready. Candy can be sensitive to timing, and a little prep goes a long way.
Cooking tips for perfect caramel
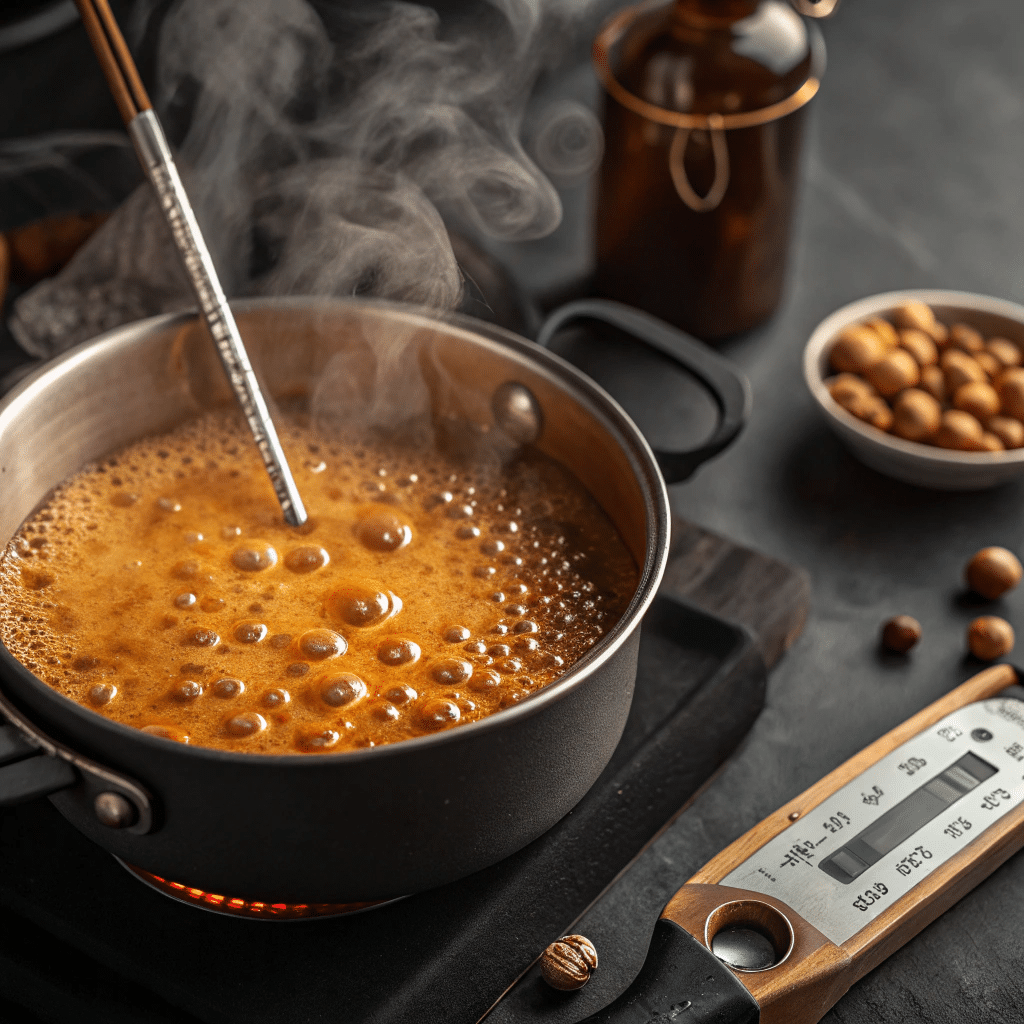
Making caramel is all about temperature. A candy thermometer is your best friend here — we’re aiming for 245°F (firm ball stage). Start by combining the sugars, corn syrup, cream, and butter in a heavy-bottomed saucepan over medium heat. Stir until everything melts together, then stop stirring and let it bubble gently.
Watch the thermometer closely. As soon as it hits 245°F, remove it from heat, stir in the vanilla, and pour the caramel into your prepared pan. Now comes the magic touch: sprinkle flaky sea salt generously across the top while it’s still warm.
Let the caramel cool at room temperature for a few hours, then cut it into squares and wrap in wax paper. These keep beautifully at room temp for two weeks — or even longer in the fridge.
Want to experiment? In Part 3, we’ll dive into flavor twists and customizations to make these caramels your own.
Ingredients
Method
- Line an 8×8-inch pan with parchment. Butter the parchment and set aside.
- In a saucepan, combine cream, butter, and salt. Warm over medium heat until butter melts. Remove from heat.
- In another heavy-bottom saucepan, combine sugar, corn syrup, and water. Cook over medium-high, swirling (not stirring), until it turns a deep amber color (around 320°F).
- Carefully pour in warm cream mixture (it will bubble up). Stir constantly and cook until mixture reaches 245°F (firm-ball stage).
- Remove from heat, stir in vanilla. Pour into prepared pan.
- Cool completely at room temperature, then sprinkle with flake salt.
- Cut into squares and wrap in wax paper.
Creative Twists on Classic Salted Butter Caramels
Flavor variations that elevate every bite
The base recipe for salted butter caramels is delicious on its own — but once you’re comfortable with the process, adding a few flavor upgrades can make these caramels even more unforgettable. Here are some tested variations that have become family favorites:
- Espresso Salted Caramels: Add ½ teaspoon of instant espresso powder with the vanilla for a grown-up twist that deepens the richness.
- Bourbon Salted Caramels: Stir in 1 tablespoon of bourbon after removing the pan from heat, just before the vanilla. The alcohol burns off but leaves behind warm, smoky flavor notes.
- Vanilla Bean Caramels: Swap out vanilla extract for scraped vanilla bean paste. The speckled look adds visual appeal and a more intense vanilla flavor.
- Chocolate Swirl Caramels: After pouring the caramel into the pan, drizzle melted dark chocolate on top and swirl with a toothpick for a beautiful marbled effect.
Want to get festive? A sprinkle of crushed candy canes or cinnamon-sugar over the warm caramel turns it into a seasonal treat worth gifting. And for fall, try a tiny dash of pumpkin spice in the mix.
Texture tips and finishing touches
One of the most delightful things about salted caramels is the contrast between silky softness and the crunch of flaky salt. To maintain that perfect balance, timing is everything. Sprinkle the sea salt immediately after pouring the caramel — when the surface is warm enough to “catch” the salt, but not so hot that it dissolves.
For a firmer chew (like wrapped candies), cook the caramel to 250°F instead of 245°F. For a softer caramel (great for dipping apples or spreading over brownies), pull it off the heat at 240°F.
If you’re cutting the caramel into pieces, use a sharp, lightly buttered knife for clean edges. Wrap each piece in wax paper to keep them from sticking and to give that charming, old-school candy look.
FAQ – Salted Butter Caramels
1. Why did my caramel turn out too hard or too soft?
Caramel texture depends on temperature. For chewy caramels, cook to exactly 245°F (firm-ball stage). If it’s too soft, it wasn’t hot enough. If too hard, it went past the right temp.
2. Can I make these caramels without corn syrup?
Yes, you can substitute with honey or golden syrup. However, corn syrup prevents crystallization, which is helpful for beginners.
3. How do I cut caramels cleanly?
Let the slab cool completely, then use a greased or hot knife to slice evenly. Clean the blade between cuts for smooth edges.
4. How long do homemade caramels last?
They last up to 2 weeks at room temperature in a sealed container, or up to 3 months if frozen.
Conclusion
These Salted Butter Caramels are everything you want in a homemade candy—chewy, rich, and just the right amount of salty. Whether you’re gifting them or treating yourself, they feel gourmet without the fuss. Using simple ingredients and a bit of patience, you’ll get bakery-quality caramels from your own kitchen. No need for fancy equipment—just a heavy pot and a little magic.


