
Butterfinger Caramel Crunch Mini Pies – No-Bake, Decadent & Irresistible
Looking for a no-bake dessert that’s rich, crunchy, and guaranteed to disappear fast? These Butterfinger Caramel Crunch Mini Pies check every box. With layers of buttery graham crust, gooey caramel, whipped cream, and crushed Butterfinger candy, they deliver pure decadence in every bite. Best of all? You don’t even need to turn on the oven. Whether you’re prepping for a party, bake sale, or just craving something indulgent and simple, this recipe is pure comfort with a nostalgic crunch. Let’s dive into how to make them — with tips for variations, storage, and how to keep the caramel perfectly creamy.
A Pie Born from Candy Cravings
From Halloween stash to showstopper dessert
Every Halloween, we ended up with a pile of leftover Butterfingers. I loved the peanut-buttery crunch but didn’t love eating candy straight from the wrapper anymore. So I started experimenting — could I turn those candy bars into something more… elegant?
Enter these Butterfinger Caramel Crunch Mini Pies. With a graham crust base, smooth caramel layer, whipped topping, and candy bits — it was love at first bite. The recipe quickly became a hit during holiday dessert tables, especially paired with our mini chocolate caramel cups and salted butter caramels.
Even people who “don’t do sweets” ask for seconds.
The magic of bite-sized pies
There’s something about mini pies that feels instantly festive and crowd-pleasing. They’re individually portioned, easy to serve, and perfect for parties or gifting. And because this version is no-bake, you can whip up a dozen in under 30 minutes.
Each one balances a creamy caramel core with the crunch of crushed candy and buttery graham layers. No mess, no slicing — just grab and go.
Ingredients & Step-by-Step Assembly
Simple layers, rich flavor
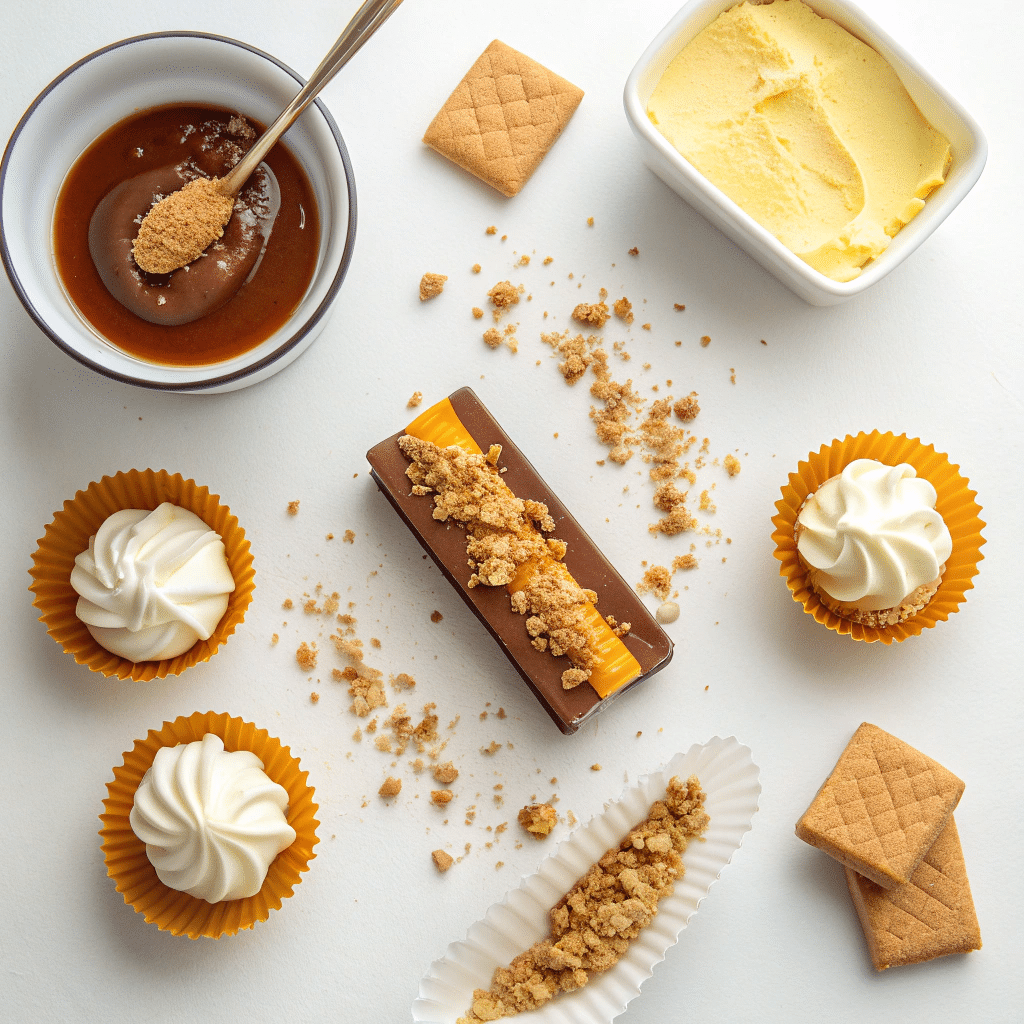
You only need a handful of ingredients to make these Butterfinger caramel crunch mini pies, but together, they create something special. The balance of sweet, salty, creamy, and crunchy makes them irresistible.
Ingredients:
- 1 1/2 cups graham cracker crumbs
- 5 tablespoons melted unsalted butter
- 2 tablespoons sugar
- 1/2 cup thick caramel sauce (store-bought or homemade)
- 1 1/2 cups whipped topping or stabilized whipped cream
- 6 mini Butterfinger bars (crushed)
- Optional: chocolate drizzle, extra candy for garnish
- Mini cupcake liners or small tart molds
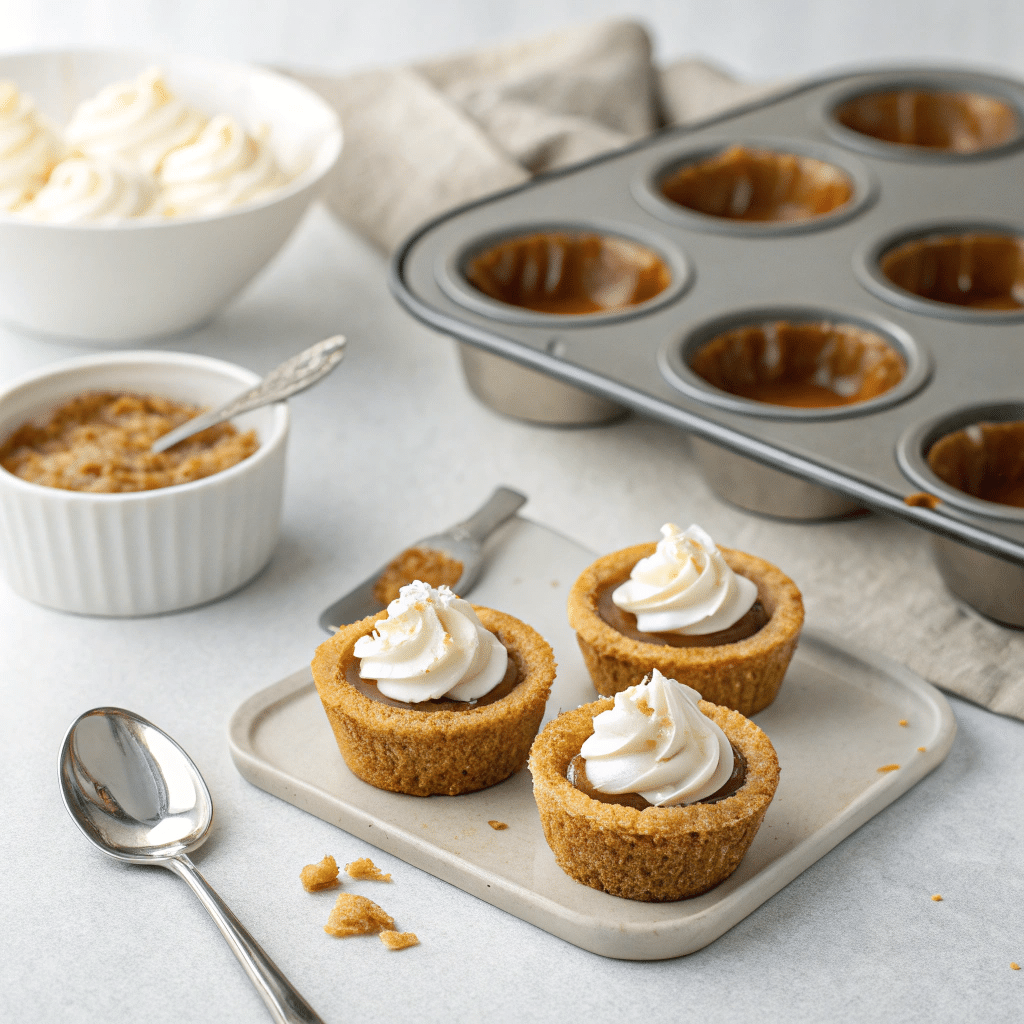
No-bake magic in minutes
- Prepare the crust: In a bowl, combine graham cracker crumbs, melted butter, and sugar. Mix until sandy and well coated.
- Form the crust base: Press about 1 tablespoon of the mixture into the bottom of mini cupcake liners. Use a spoon to flatten. Freeze for 10 minutes to set.
- Add caramel layer: Spoon about 1 teaspoon of thick caramel over each chilled crust. Gently spread to edges without overfilling.
- Top with whipped cream: Add a dollop of whipped topping on each pie. Smooth or swirl, as you like.
- Crush and sprinkle: Crush Butterfinger bars and sprinkle generously over the tops.
- Optional finish: Drizzle with melted chocolate or caramel for extra flair.
- Chill to set: Refrigerate 15–30 minutes before serving.

Butterfinger Caramel Crunch Mini Pies – No-Bake, Decadent & Irresistible
Ingredients
Method
- For best texture, serve slightly chilled or at room temperature.
- Use thick caramel to avoid runny pies.
- Store in the fridge up to 5 days or freeze for up to 2 months.
- Crush candy right before serving for the best crunch.
Flavor Variations & Expert Tips
Easy twists to make them your own
What’s great about these Butterfinger caramel crunch mini pies is how customizable they are. With just a few simple swaps, you can create completely new versions that still deliver the same creamy-crunchy satisfaction.
Try these fun variations:
- Peanut Butter Lovers’ Mini Pies: Add 1 tablespoon of creamy peanut butter to your caramel layer. It balances beautifully with the crushed Butterfinger topping.
- Chocolate Caramel Explosion: Mix mini chocolate chips into the graham crust, and drizzle the top with chocolate ganache.
- Salted Caramel Pretzel Pies: Replace graham crackers with crushed pretzels for a salty-sweet contrast. Great with salted butter caramels.
- Frozen Butterfinger Pie Bites: Freeze the assembled pies for 2 hours, then serve as chilled summer treats next to chocolate caramel cups.
Let the season inspire you — these mini pies are a fantastic base for experimenting with textures and toppings.
Tips for perfect mini pie success
Even though these pies are simple, a few small tricks can help elevate them to professional quality:
- Use firm caramel: Too runny, and it’ll slide out when you bite. Too stiff, and it’ll harden in the fridge. Aim for soft and thick, like our six-minute caramel base.
- Crush Butterfingers fresh: Don’t crush them in advance — they’ll clump. Do it right before topping.
- Mini liners are key: They help hold shape, make for clean presentation, and are easy to peel.
- Chill before serving: The pies taste better once set — give them at least 15 minutes in the fridge.
FAQ, Storage & Final Touches
How to store and serve your mini pies
One of the best parts about these Butterfinger caramel crunch mini pies is how well they hold up — perfect for prepping ahead for parties or gifts.
- Refrigerator: Store in an airtight container for up to 4–5 days. Add parchment paper between layers if stacking.
- Freezer: Freeze for up to 2 months. Thaw in the fridge overnight before serving.
- Serving tip: Bring to room temperature for 10 minutes for the caramel to soften slightly.
FAQ Section
How do you make no-bake Butterfinger mini pies?
Just layer graham crust, caramel, whipped cream, and crushed Butterfinger in mini cupcake liners — no oven needed.
Can I use store-bought caramel sauce for mini pies?
Absolutely. Choose a thick, rich caramel that holds its shape when chilled.
How long do Butterfinger mini pies last in the fridge?
They’ll stay fresh for 4–5 days when stored in a sealed container.
What’s the best crust for Butterfinger caramel pies?
A classic graham cracker crust works best, but crushed pretzels or vanilla wafers are also delicious.


