
DIY Bioplastic Suncatchers – Fun, Earth-Friendly Window Art
If you’re looking for a fun, educational, and sustainable craft, these DIY bioplastic suncatchers are pure joy. Made with simple kitchen ingredients like cornstarch and vinegar, they’re colorful, semi-transparent creations that harden into flexible, plastic-like art you can hang in the window. Not only are they kid-safe and eco-friendly, but they also introduce a fun hands-on way to talk about science, sustainability, and creativity. Whether you’re doing a weekend family activity or adding a touch of handmade charm to your home, these suncatchers are the perfect blend of nature, learning, and color.
A Craft Born from Curiosity and Kitchen Science
How it started on a rainy afternoon
I stumbled into DIY bioplastic suncatchers completely by accident. It was a rainy Saturday, and the kids were bored. I wanted something hands-on, zero-waste, and safe for all ages. I remembered reading about homemade bioplastics in a science blog — cornstarch, water, vinegar, and glycerin — and thought, “Why not?”
We mixed, poured, added color, and watched the mixture transform from goop to something magical. A day later, our windows glowed with bright, bendy shapes — flowers, stars, even a few blobs that looked vaguely like planets. It wasn’t just a craft. It was a memory.
Why this project is perfect for all ages
What I love about DIY bioplastic suncatchers is how inviting and flexible it is. No harsh chemicals. No expensive tools. Just real ingredients, a stovetop, and your imagination. Kids can mix and pour the “bio-goo,” choose colors, and cut out shapes once they dry. Grown-ups love the eco-angle and the way the final suncatchers catch the light like stained glass.
It’s the kind of project that doesn’t just entertain — it educates. You get a little science, a lot of creativity, and something beautiful to hang when it’s done.
Ingredients & How to Make DIY Bioplastic Suncatchers
Simple ingredients, big transformation
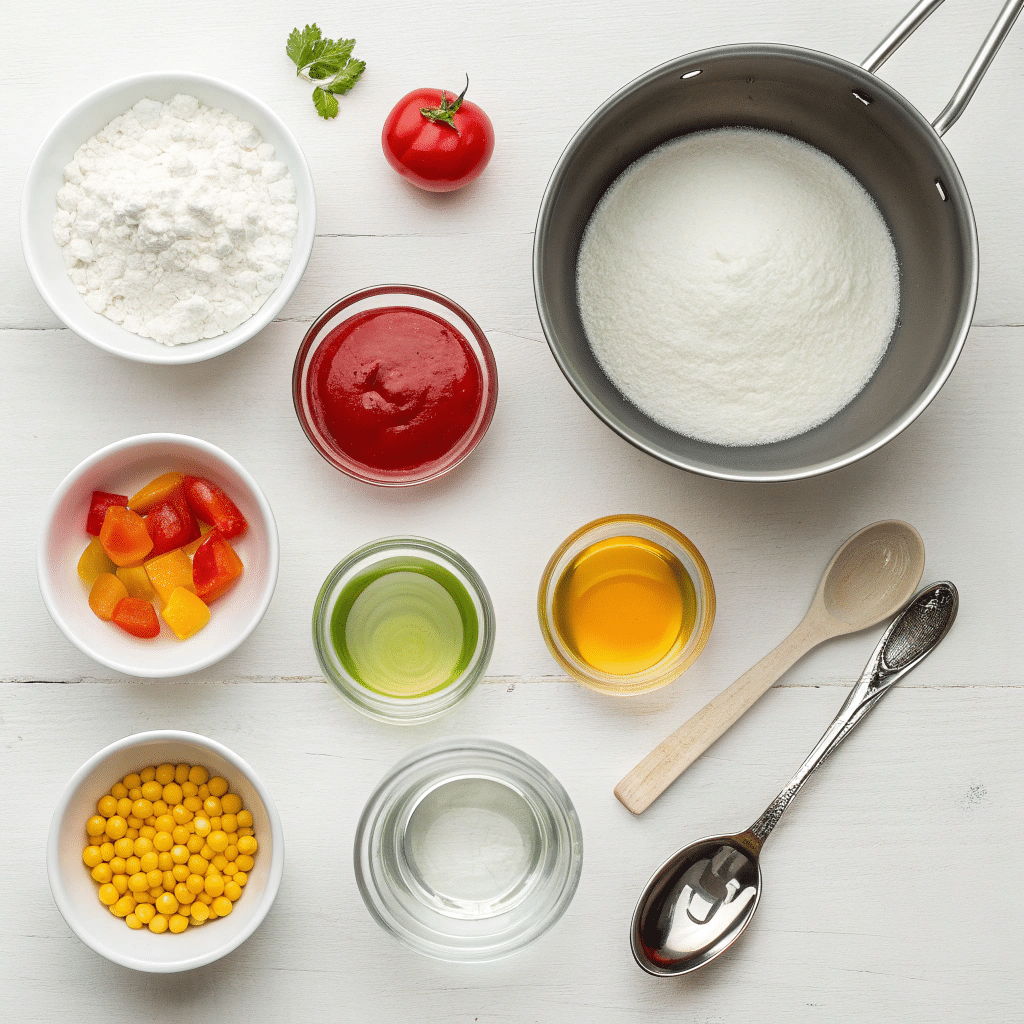
One of the best things about DIY bioplastic suncatchers is how they use common, natural ingredients you likely already have in your kitchen. You don’t need any synthetic resin or fancy tools — just a saucepan, a spoon, and some creativity.
Ingrédients :
- 1 tablespoon cornstarch
- 4 tablespoons cold water
- 1 teaspoon white vinegar
- 1 teaspoon glycerin (available at most pharmacies or craft stores; optional for flexibility)
- Food coloring or natural dyes (spirulina, turmeric, beet juice, etc.)
- Silicone baking mat or parchment paper
- Cookie cutters or a craft knife (for shaping)
- Straw or skewer (to poke hanging holes)
You can double or triple the recipe easily to make bigger batches. Glycerin makes the suncatchers bendy; skip it if you prefer a firmer finish.
Step-by-step instructions for homemade window art
- Mix the bioplastic base: In a small saucepan, combine cornstarch, water, vinegar, and glycerin. Stir until smooth — it’ll look cloudy and runny.
- Cook the mixture: Heat gently over medium-low, stirring constantly. In 1–2 minutes, the liquid will start to thicken, turning into a clear gel-like paste. Remove from heat as soon as it thickens.
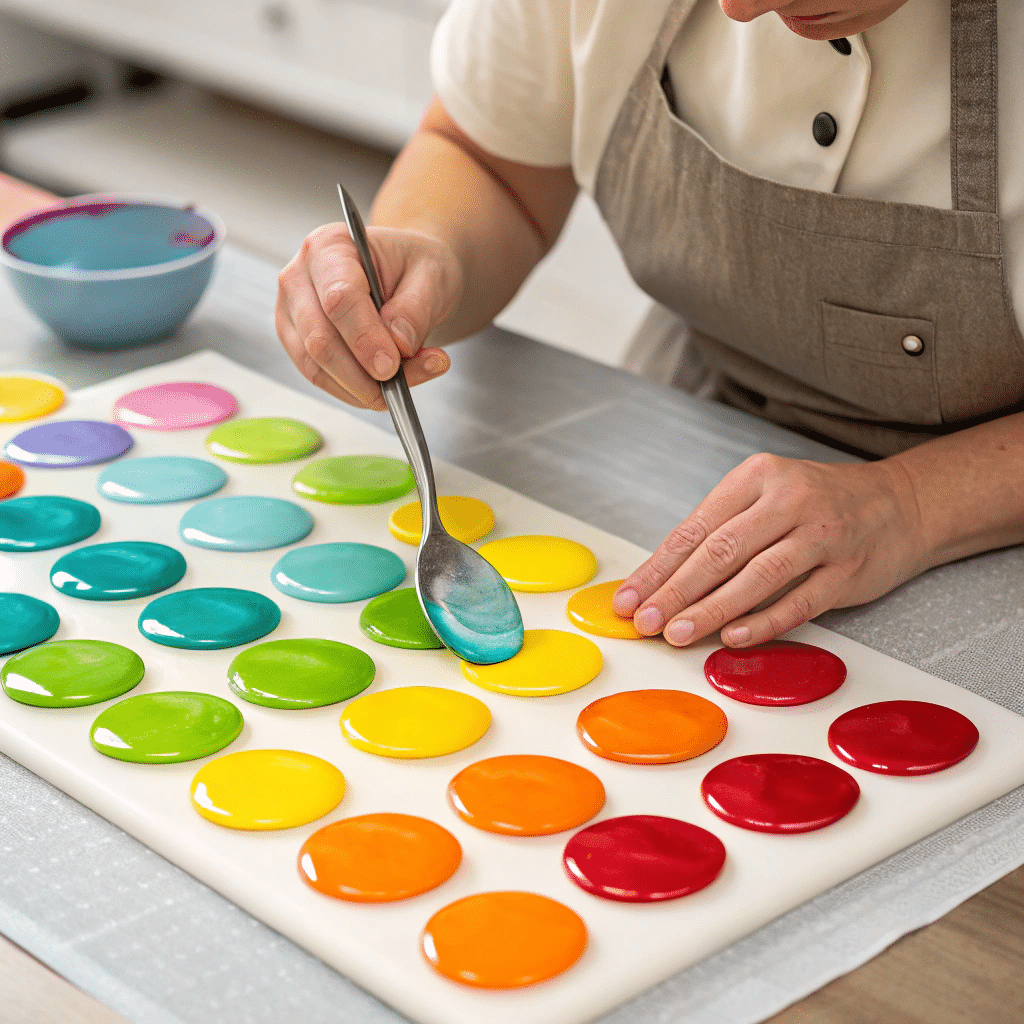
- Color it: Divide the paste into small bowls. Add a drop or two of food coloring or natural dye to each and stir.
- Pour and spread: Spoon or pour colored bioplastic onto a silicone mat or parchment-lined tray. Use the back of the spoon to flatten the blobs to your desired shape and thickness.
- Add holes: While still wet, poke a small hole near the top with a straw if you want to hang your suncatcher later.
- Dry and shape: Let dry 24–48 hours at room temperature. Once dry and peelable, cut into shapes using cookie cutters or scissors if you didn’t already shape them.
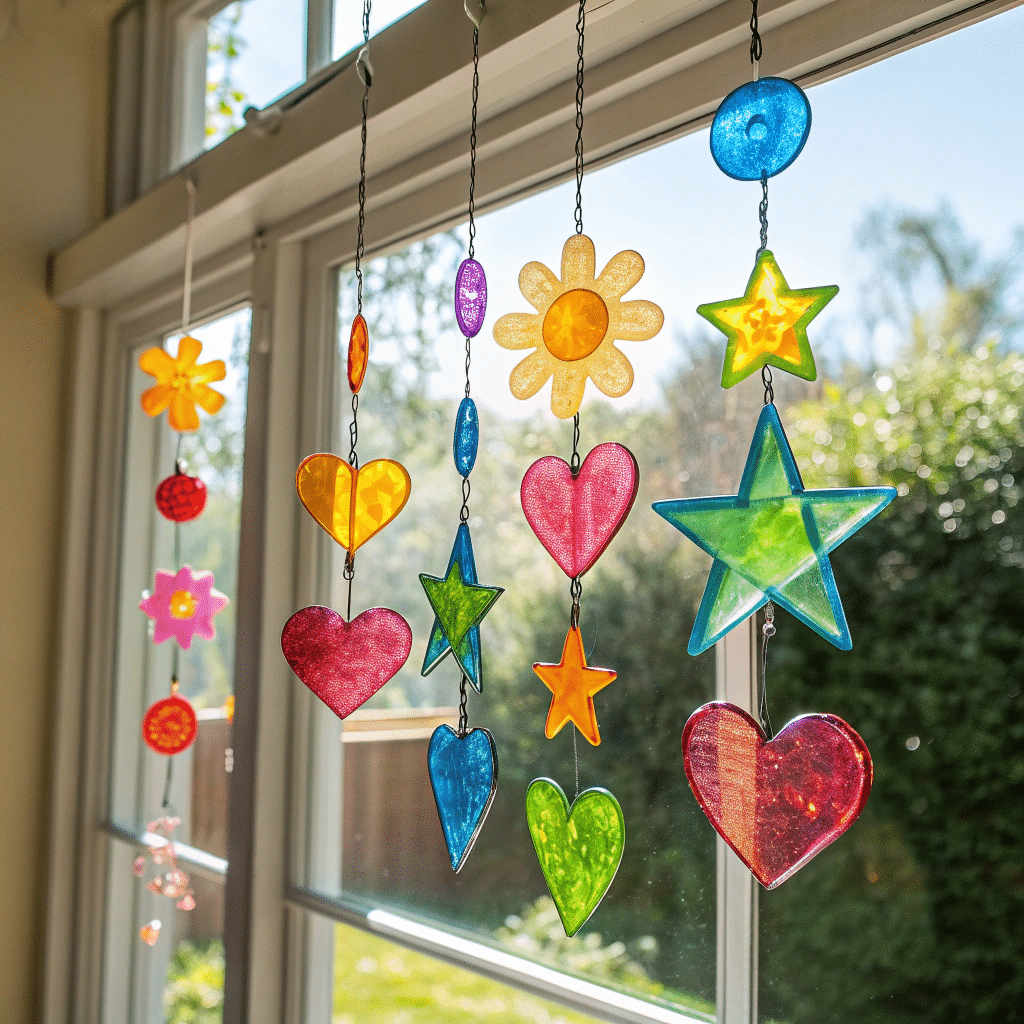
Your suncatchers are now ready to hang — and catch the sun with colorful, natural glow!
DIY Bioplastic Suncatchers – Fun, Earth-Friendly Window Art
Ingredients
Method
- In a small saucepan, combine cornstarch, water, vinegar, and glycerin. Stir well.
- Cook over low heat, stirring until the mixture thickens into a gel.
- Divide into bowls, add coloring, and stir.
- Spoon onto a silicone mat or parchment. Flatten gently into desired shapes.
- Use a straw to make hanging holes. Let dry 24–48 hours.
- Once dry, peel and trim. Hang near a window or gift them.
Notes
Avoid making shapes too thick, or they may crack during drying.
Flip halfway through for even drying.
Store flat in a dry area if not displayed immediately.
Creative Variations & Drying Tips for Bioplastic Suncatchers
Customize your colors and shapes
Once you’ve mastered the basic formula for DIY bioplastic suncatchers, it’s time to play! This craft is highly flexible and easy to adapt depending on the season, the occasion, or your mood.
- Natural Dyes: Try turmeric for yellow, beet juice for pink, spirulina powder for green-blue, or red cabbage for purple tones. These add a rustic, organic feel.
- Layered Designs: Pour multiple colors side-by-side and swirl with a toothpick before they set for a tie-dye effect.
- Pressed Flowers or Glitter: While still wet, gently press tiny dried flowers or eco-glitter into the surface for added texture and beauty.
- Mold Shapes: Pour the bioplastic mixture into silicone candy molds or shaped cookie cutters for precise outlines (great for hearts, stars, or animals).
This project makes great Earth Day crafts, nature-inspired decorations, or seasonal hangings — from snowflakes to sunflowers.
How to dry, store & display your suncatchers
Drying takes patience, but it’s key for strong, flexible results.
- Dry Time: Depending on thickness, dry for 24–48 hours. Thinner shapes dry faster. Flip after 12 hours to help them dry evenly.
- Avoid Humidity: Bioplastic reacts to moisture. Let them dry in a well-ventilated space, away from steamy kitchens or bathrooms.
- Storage: If you’re not hanging them immediately, store in a cool, dry place in wax paper or parchment. Keep flat to avoid curling.
- Displaying: Hang them with string or transparent thread in front of windows, use as ornaments, or tape directly to glass with a small clear sticker.
They last for weeks (sometimes months), and when you’re done with them — they’re compostable. Beauty and sustainability, all in one.
FAQ
What are bioplastic suncatchers made from?
They’re made from natural kitchen ingredients like cornstarch, water, vinegar, and glycerin. This mixture forms a safe, flexible, and semi-transparent bioplastic.
How do you make bioplastic at home for crafts?
Cook cornstarch, water, vinegar, and glycerin over low heat until it thickens. Add color, pour, shape, and let dry for 1–2 days.
Are bioplastic suncatchers safe for kids to make?
Yes! The ingredients are non-toxic, and the process involves simple mixing and low stovetop heat. Adult supervision is recommended during heating.
Can I color bioplastic naturally?
Absolutely. Use turmeric, beet juice, spirulina, or red cabbage for gentle, beautiful natural shades.


